Our Editorial Research & Methodology
The Neutral Wire Mystery
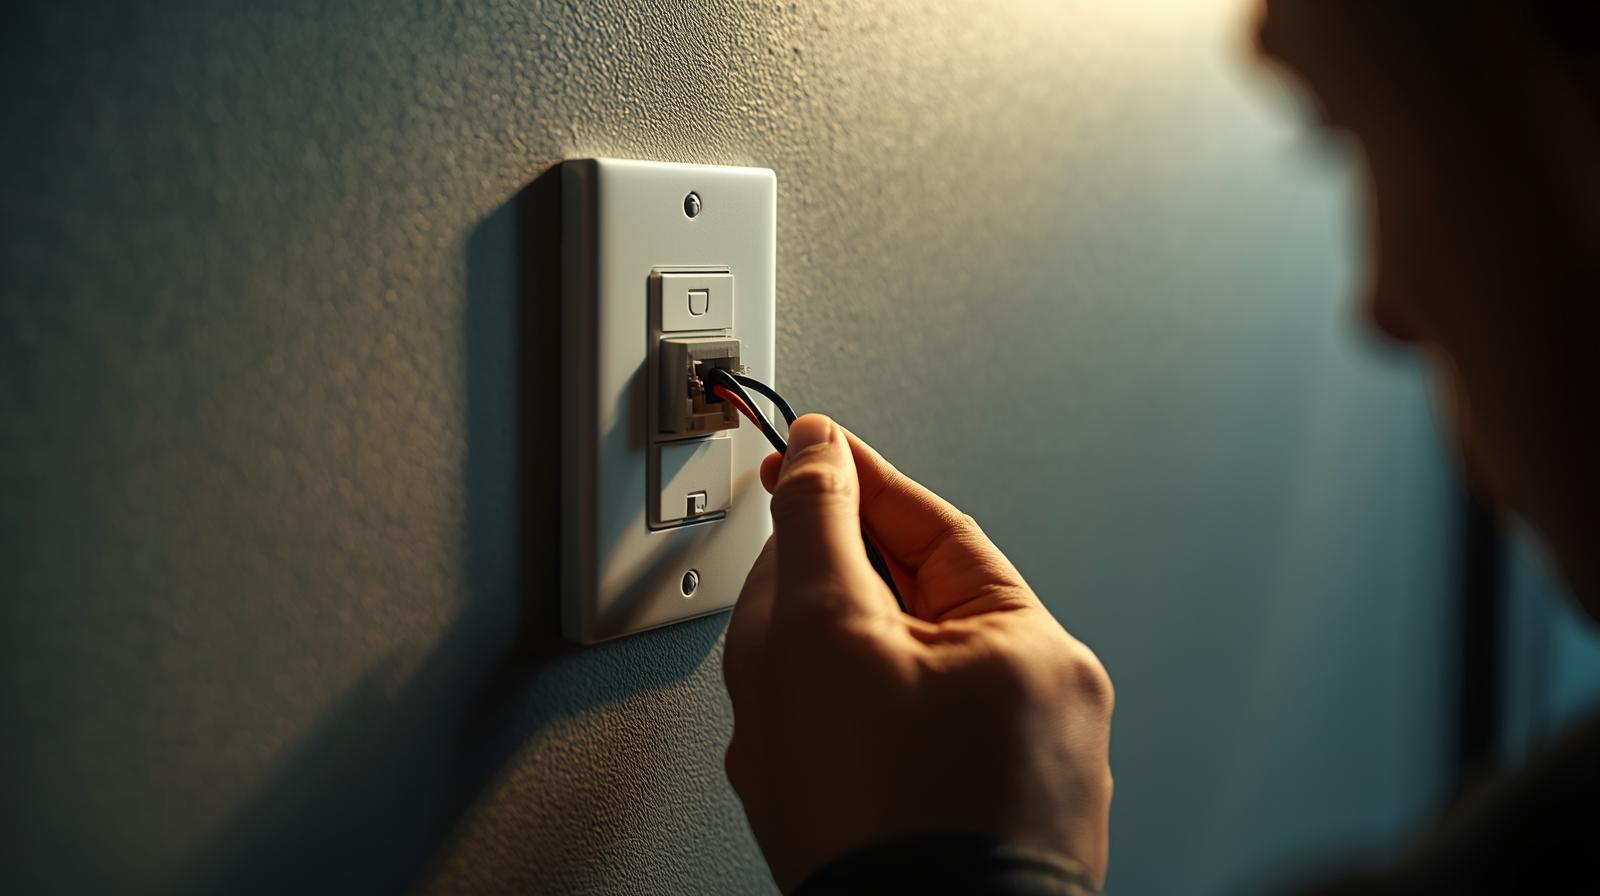
You open up your light switch box, ready to join the 21st century, and you see it: a tangled mess of wires, but not the one you need. If your home was built before the mid-1980s, there is a very good chance you are missing a neutral wire. For years, this was the 'game over' moment for smart home enthusiasts. Most smart switches need that neutral wire to stay powered up even when the lights are off. Without it, the switch dies, and your smart home goes dumb.
But here is the good news: it is 2026, and we have figured this out. You do not need to tear open your drywall or hire an expensive electrician to run new lines. You just need the right gear and a little bit of know-how. In this guide, I am going to show you exactly how to get smart lighting working in an old house without the headache of a full rewire.
What is a Neutral Wire Anyway?
Think of your electrical system like a loop. The 'Line' wire brings the power in, and the 'Load' wire carries it to the light bulb. The 'Neutral' wire completes the circuit back to the panel. Standard 'dumb' switches just break that loop. When the switch is off, the circuit is open, and no power flows. Smart switches, however, are basically tiny computers. They need a constant trickle of power to stay connected to your Wi-Fi or Zigbee network. The neutral wire provides that constant return path for power without needing to go through the light bulb.
How No-Neutral Switches Pull Off the Impossible
If there is no neutral wire, how does a smart switch stay alive? It uses a clever, slightly sneaky trick called 'power stealing' or 'leakage to load.' Instead of a dedicated return path, the switch allows a tiny, microscopic amount of electricity to flow through the light bulb even when it is 'off.' This amount of power is so small that it won't light up an old-school incandescent bulb, but it is enough to keep the switch's brain running.
🏆 Our Top Picks
Lutron Caseta Deluxe Smart Dimmer (PD-6WCL)
The gold standard for no-neutral homes. It uses Lutron's proprietary Clear Connect technology, which is incredibly fast and never drops a connection. It is a dimmer, which helps manage the power-stealing tech more effectively than a standard toggle.
Check Price on Amazon →GE Cync No-Neutral Smart Switch (Button Version)
A great Wi-Fi option that doesn't require a hub. It comes with a bulb adapter (bypass) in the box to prevent flickering. It is ideal for users who only want to replace one or two switches without committing to a whole ecosystem.
Check Price on Amazon →Inovelli Blue Series 2-in-1 (VZM31-SN)
A power-user favorite that uses Zigbee 3.0. It can be configured as either a dimmer or an on/off switch and features a customizable LED bar for notifications. It works exceptionally well in no-neutral setups when paired with a bypass.
Check Price on Amazon →Leviton DN6HD-1BW Decora Smart No-Neutral Dimmer
Designed to work with the Leviton Anywhere Companions, this is perfect for 3-way setups in old houses. It requires the Leviton Wi-Fi Bridge to function, but it offers a very traditional look that matches standard Decora plates.
Check Price on Amazon →The Catch: Minimum Load Requirements
Because these switches leak power through the bulb, they have a 'minimum load' requirement. If you are using a single, low-wattage LED bulb, you might notice it flickering or glowing faintly even when the switch is off. This is because the 'leakage' is actually enough to partially power the LED. We solve this using a 'Bypass' or 'Load Resistor,' which we will talk about in a bit. Most modern no-neutral switches are designed to work with dimmable LEDs to minimize this issue.
The Three Best Ways to Solve the No-Neutral Problem
You have three main paths forward. Each has its own pros and cons depending on your budget and how many switches you plan to replace.
1. Use a Dedicated No-Neutral Smart Switch
This is the cleanest solution. Companies like Lutron and GE Cync make switches specifically engineered to work without a neutral. They usually require a specific hub or a bypass capacitor. Lutron Caseta is the undisputed king here because it uses a proprietary frequency that doesn't hog your Wi-Fi and is incredibly stable.
2. The Smart Bulb and Remote Combo
If you don't want to touch the wiring at all, you can hardwire the circuit to be 'always on' behind the wall and then use a battery-powered smart remote over the existing box. This gives you the look of a switch without the electrical complexity. However, it means your 'switch' is now just a remote control for a bulb.
3. The Bypass Capacitor Method
If you find a switch you love but it flickers with your LEDs, you can install a bypass. This is a small component that you wire in parallel with the light fixture (not the switch). It acts as a 'sink' for that extra leaked power, preventing the bulb from flickering. Many GE Cync and Shelly devices come with these in the box.
Tools You Will Need
Before you start poking around in your walls, grab these essentials. Do not skip the tester; it is the only thing standing between you and a very bad day.
- Non-contact voltage tester: To make sure the power is actually off.
- Philips and Flathead screwdrivers: For the switch and the wall plate.
- Wire strippers: In case the old wires are brittle or too short.
- Needle-nose pliers: For bending wires around screw terminals.
- Wire nuts or Wago connectors: For making secure connections.
Step-by-Step Installation Guide
Follow these steps closely. Electrical work is not the place for 'freestyling.'
Step 1: Kill the Power
Go to your breaker panel and flip the switch for the room you are working in. Do not just turn off the wall switch. Go back to the room and try to turn the light on. If it stays dark, you are on the right track. Now, use your non-contact voltage tester inside the box to confirm there is no 'hot' wire active.
Step 2: Identify Your Wires
In a no-neutral setup, you will typically see two main wires (plus a bare copper ground). One is the 'Line' (power coming from the panel) and the other is the 'Load' (power going to the light). In older homes, they might both be black. To tell them apart, you may need to briefly turn the power back on and use your tester to see which one glows. Turn the power back off immediately after identifying them.
Step 3: Connect the Ground
Always start with the ground wire (usually green or bare copper). Connect it to the green screw or green wire on your smart switch. This is your safety net.
Step 4: Connect Line and Load
Most no-neutral switches are 'non-polarized,' meaning it doesn't matter which black wire goes to which terminal, but check your manual. Secure the wires using wire nuts or the screw terminals. Make sure no bare copper is peeking out from under the wire nuts.
Step 5: Install the Bypass (If Necessary)
If your switch came with a bypass capacitor and you are using LED bulbs, you need to install it at the light fixture, not the switch. You wire it across the 'Hot' and 'Neutral' wires at the ceiling rose or the light base. This gives the leaked current a place to go so the bulb doesn't flicker.
Step 6: The 'Stuff' and Test
Gently fold the wires back into the box. Smart switches are bulky, so this can be a squeeze. Screw the switch into the box, put the faceplate on, and turn the breaker back on. Follow the manufacturer's app instructions to pair the device.
Comparison: No-Neutral vs. Standard Smart Switches
| Feature | No-Neutral Switch | Standard Smart Switch |
|---|---|---|
| Wiring Difficulty | Low (2-3 wires) | Medium (4 wires) |
| Bulb Compatibility | Limited (Needs dimmable LEDs) | Universal |
| Reliability | High (if using a hub) | Very High |
| Cost | Slightly Higher | Lower |
| Flicker Risk | Possible without bypass | None |
Common Pitfalls to Avoid
In my experience, most people fail because they ignore the 'Minimum Load' rule. If you are trying to control a single 4-watt LED bulb with a no-neutral switch, it is going to flicker. You either need more bulbs on that circuit or a bypass. Another common mistake is buying a 'No-Neutral' switch that actually requires a specific hub you don't own. Always read the fine print on the box.
What about 3-way switches?
If you have two switches controlling one light, things get complicated. Most no-neutral 3-way setups require a 'Master' switch and a 'Remote' or 'Add-on' switch. You cannot just put a no-neutral switch at one end and leave a dumb switch at the other; the circuit won't work correctly because the smart switch will lose power when the dumb switch is flipped.
Final Thoughts on Older Homes
Living in an older home has charm, but the electrical can be a nightmare. Using no-neutral smart switches is the most cost-effective way to modernize your space without a massive renovation. Stick with reputable brands like Lutron or Inovelli, use a voltage tester every single time, and don't be afraid to use a bypass if your lights start acting like a strobe light at a 90s rave. You've got this.
Frequently Asked Questions
Will a no-neutral switch work with any LED bulb?
No, they work best with high-quality dimmable LEDs. Non-dimmable bulbs often flicker because they cannot handle the tiny amount of current the switch leaks to stay powered.
Do I need a hub for no-neutral switches?
Often, yes. Many reliable no-neutral switches use Zigbee or Clear Connect (Lutron) because these protocols use less power than Wi-Fi, making them easier to run without a neutral wire.
Is it safe to install a switch without a neutral?
Yes, as long as the switch is UL-listed and designed for no-neutral installation. These devices are engineered to safely bleed a tiny amount of current through the ground or load.