Our Editorial Research & Methodology
The Smart Thermostat Revolution
Let's be honest. Most of us treat our thermostats like a mysterious box on the wall. We poke at it when we are too cold or too hot, but we rarely think about how much money it is actually wasting. By 2026, energy prices have not exactly plummeted, and the old-school dial or basic programmable unit just does not cut it anymore. Upgrading to a smart thermostat is one of the fastest ways to lower your monthly bills and make your home feel like it actually belongs in this decade.
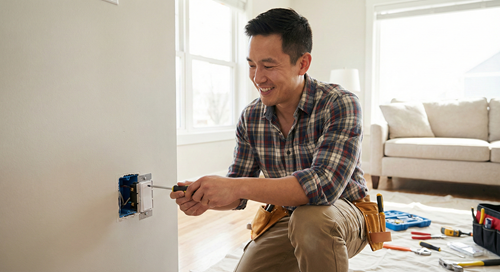
You might be staring at those wires and feeling a bit of dread. I get it. Messing with your home electrical system feels high-stakes. But here is the thing: if you can hang a picture frame and use a smartphone, you can do this. Most installations take less than 30 minutes. This guide will walk you through the process without the technical jargon that usually makes these manuals impossible to read.
Why Bother with a Smart Upgrade?
Beyond the cool factor of changing your temperature from your bed, modern thermostats in 2026 are built on the Matter protocol. This means they talk to everything else in your house seamlessly. They learn your habits, they know when you leave the house via geofencing, and they can even adjust based on the humidity outside. It is not just about comfort; it is about efficiency. Most users see a 10 to 15 percent drop in heating and cooling costs within the first year.
Step 1: The Compatibility Check
Before you even buy a new unit, you need to know what you are working with. Not every HVAC system plays nice with every smart thermostat. Most modern systems are 24V, which is what smart thermostats require. However, if you have high-voltage heaters (like baseboard heat), you need a specific type of smart thermostat designed for line voltage.
🏆 Our Top Picks
Ecobee Smart Thermostat Premium
This is the gold standard for 2026. It features a built-in air quality monitor and a zinc body that feels incredibly premium. It includes a remote sensor to fix hot or cold spots in specific rooms, making it perfect for larger homes.
Check Price on Amazon →Google Nest Learning Thermostat (4th Gen)
The 4th Gen Nest is a masterpiece of AI. It uses advanced occupancy sensors to learn your schedule without you ever touching the app. Its mirror-finish display is stunning, though it can be fingerprint-prone.
Check Price on Amazon →Wyze Thermostat v2
For those on a budget, the Wyze v2 offers 90% of the features of high-end models at a fraction of the cost. It is Matter-compatible and very easy to install, though it lacks the premium metal finish of its competitors.
Check Price on Amazon →Emerson Sensi Touch 2
If you want something that looks like a traditional thermostat but acts like a smart one, this is it. It is highly praised by HVAC professionals for its reliability and straightforward wiring terminals.
Check Price on Amazon →The Infamous C-Wire
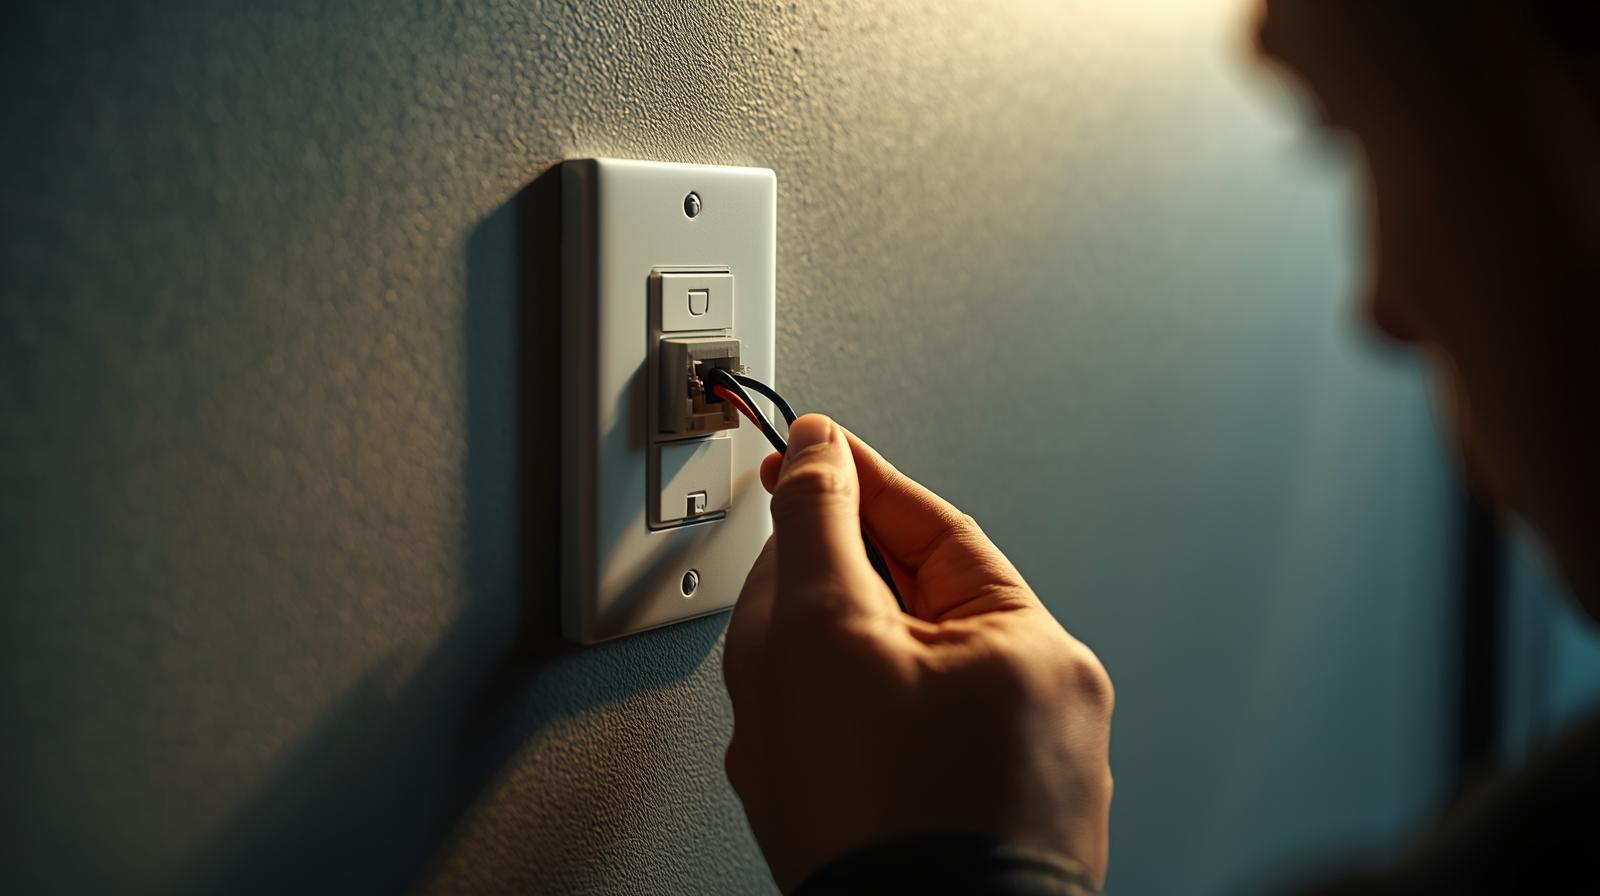
This is the part where most people get stuck. Smart thermostats have color screens and Wi-Fi chips that need constant power. Old thermostats ran on batteries or just completed a circuit. To get constant power, you usually need a Common Wire, or C-wire. Pop the cover off your current thermostat. Do you see a wire connected to a terminal labeled 'C'? If yes, you are golden. If not, do not panic. Many modern kits (like those from Ecobee or Nest) include a Power Extender Kit (PEK) or a C-wire adapter that solves this problem without you having to pull new wires through your walls.
| Wire Label | Typical Color | Function |
|---|---|---|
| R / Rc / Rh | Red | 24V Power |
| W / W1 | White | Heating |
| Y / Y1 | Yellow | Cooling |
| G | Green | Fan |
| C | Blue or Black | Common (Power) |
Step 2: Gather Your Tools
You do not need a full contractor's rig for this. A few basic items will do the trick. Grab a small Phillips head screwdriver, a flathead screwdriver, your smartphone, and some masking tape. Most smart thermostats come with a small level built into the backplate, but having a small torpedo level handy does not hurt. You will also want a flashlight if your hallway is dim.
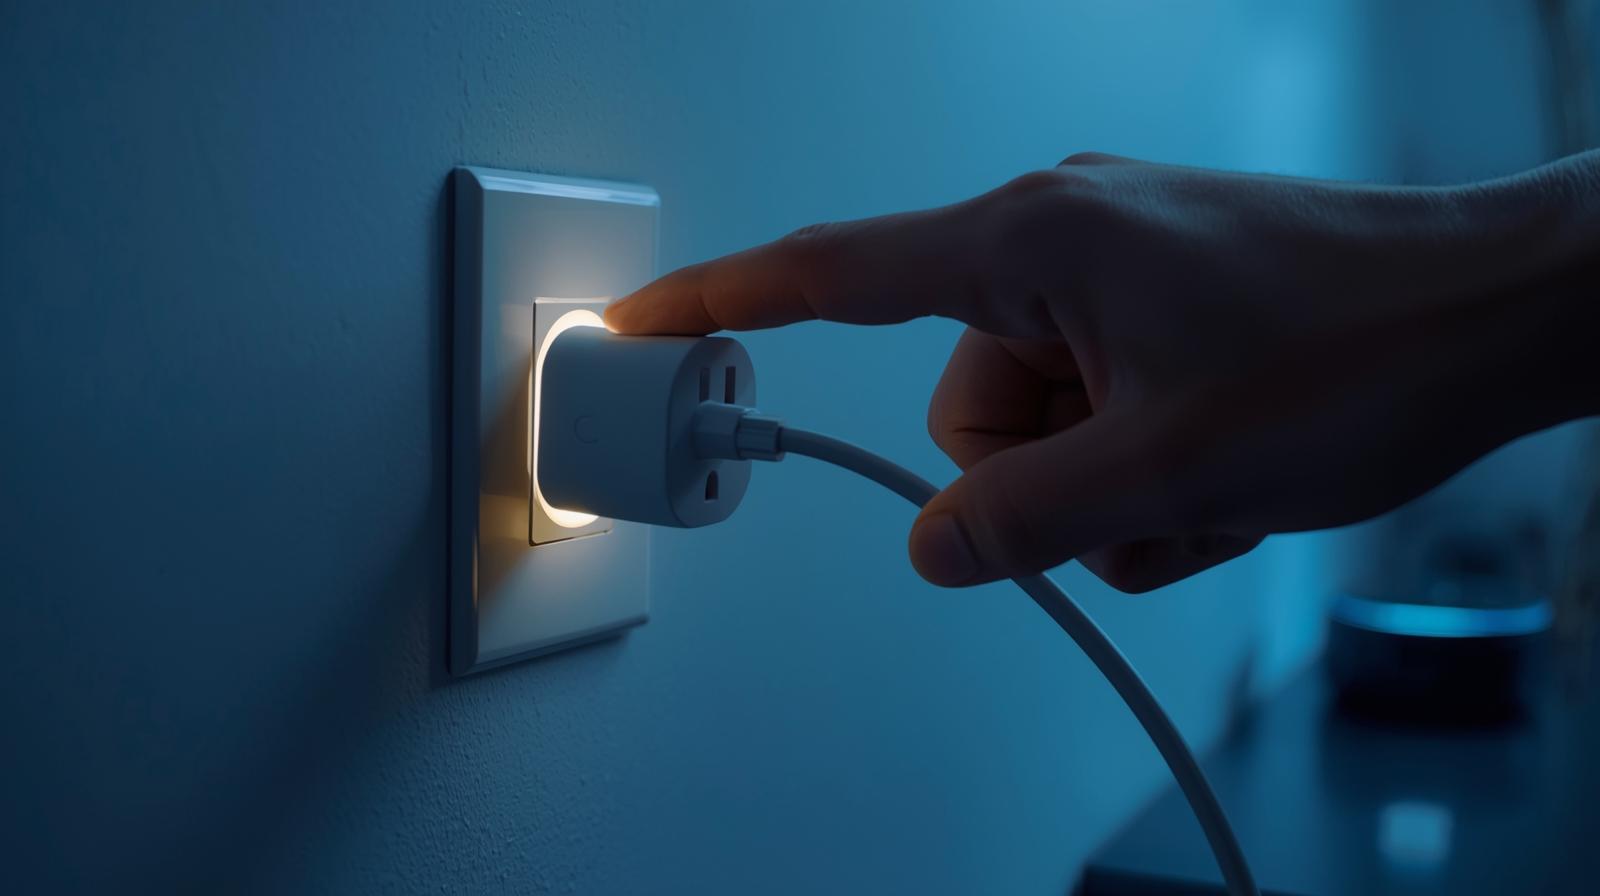
Step 3: Power Down for Safety
I cannot stress this enough: turn off the power at the breaker. Do not just turn the thermostat to 'Off.' Go to your electrical panel and flip the switch for your HVAC system. If you are not sure which one it is, turn off the main power. Working on live wires is a great way to fry your new 300 dollar gadget or, worse, give yourself a nasty shock. Once you think the power is off, try to turn on the fan or the heat at the thermostat. If nothing happens, you are safe to proceed.
Step 4: Label and Remove the Old Unit
Take a photo of the current wiring. I am serious. Take three photos from different angles. If things go sideways, you need to know exactly how it looked before you started. Most smart thermostats come with little sticker labels. Use them. Wrap a label around each wire as you disconnect it from the old terminal. Do not rely on the wire colors alone. Sometimes the person who installed your old system used whatever wire they had lying around. A blue wire might not be the C-wire in your specific house.
Once labeled, unscrew the wires and remove the old wall plate. Pro tip: Wrap the wires around a pencil or tape them to the wall so they do not slip back into the hole. Losing a wire inside the drywall is a nightmare that will turn a 30-minute job into a three-hour ordeal.
Step 5: Mount the New Backplate
Position your new smart thermostat's backplate against the wall. Pull the wires through the center hole. Use the built-in level to make sure it is straight. If the old thermostat left a mess of unpainted wall or holes, most brands include a trim plate (a large plastic cover) to hide the carnage. Screw the backplate into the wall. If you are going into drywall, use the anchors provided in the box to ensure it stays secure.
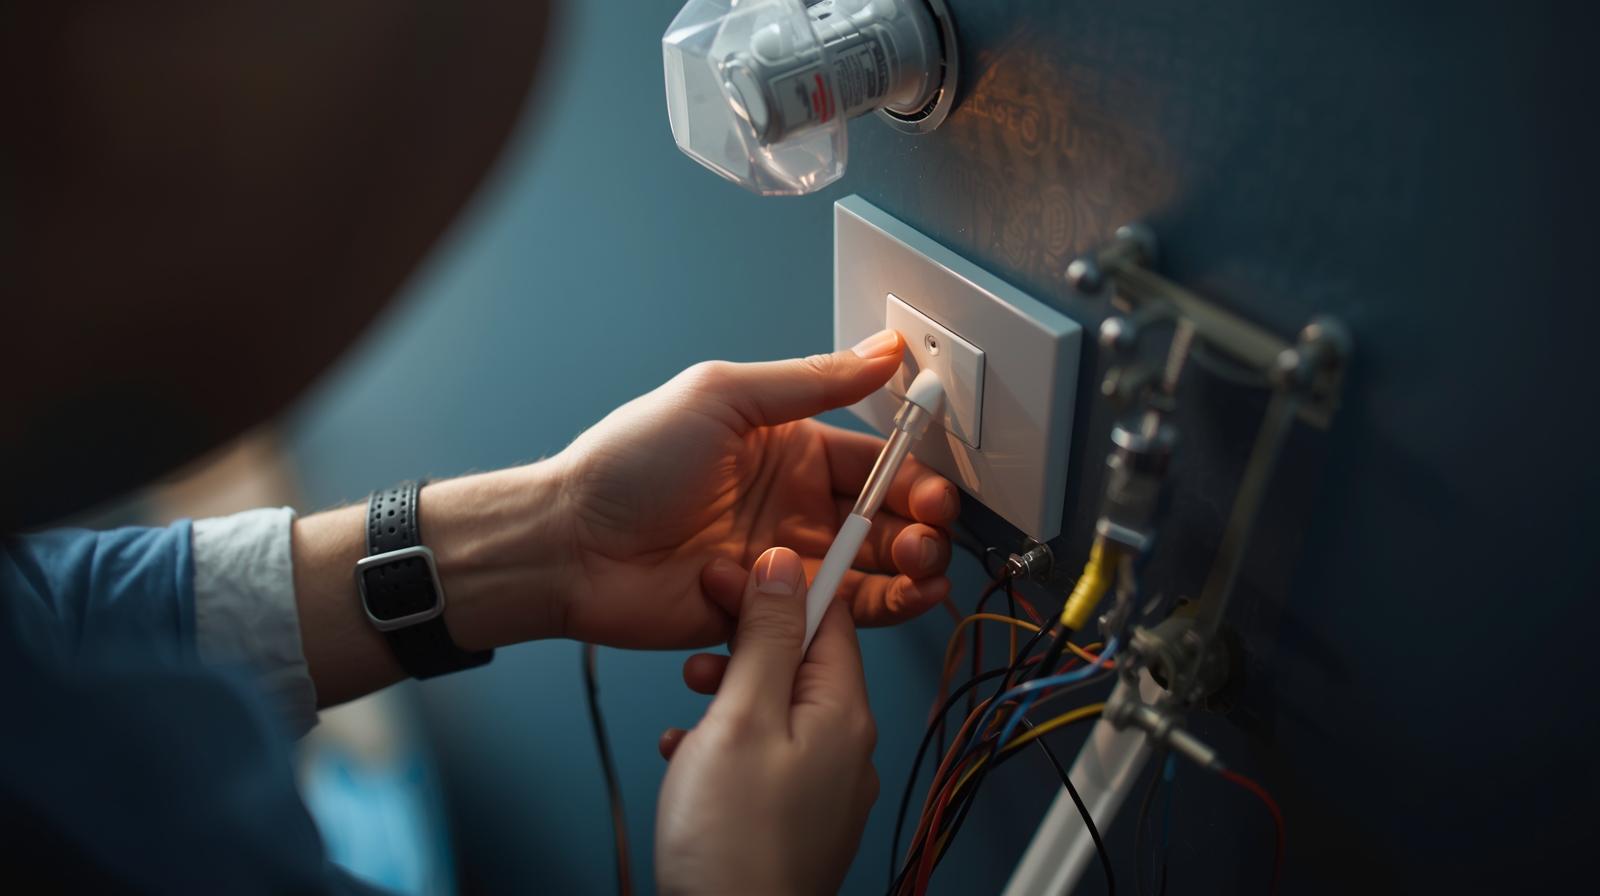
Step 6: Connect the Wires
This is the moment of truth. Take your labeled wires and insert them into the corresponding terminals on the new base. Most modern units use 'push-to-connect' terminals. You just press a small lever, slide the wire in, and release. Give each wire a gentle tug to make sure it is seated properly. If you are using a C-wire adapter because you lacked a C-wire, follow the specific instructions for that kit now. Usually, it involves a quick trip to your furnace in the attic or basement to connect a small module to the control board.
Step 7: Attach the Faceplate and Power Up
Snap the thermostat body onto the backplate. It should click into place firmly. Head back to your breaker box and flip the power back on. Walk back to the thermostat. You should see a logo or a loading screen. If the screen stays black, double-check that the faceplate is pushed all the way on. If it still does not wake up, you likely have a wiring issue or the breaker tripped again.
Step 8: The Digital Handshake
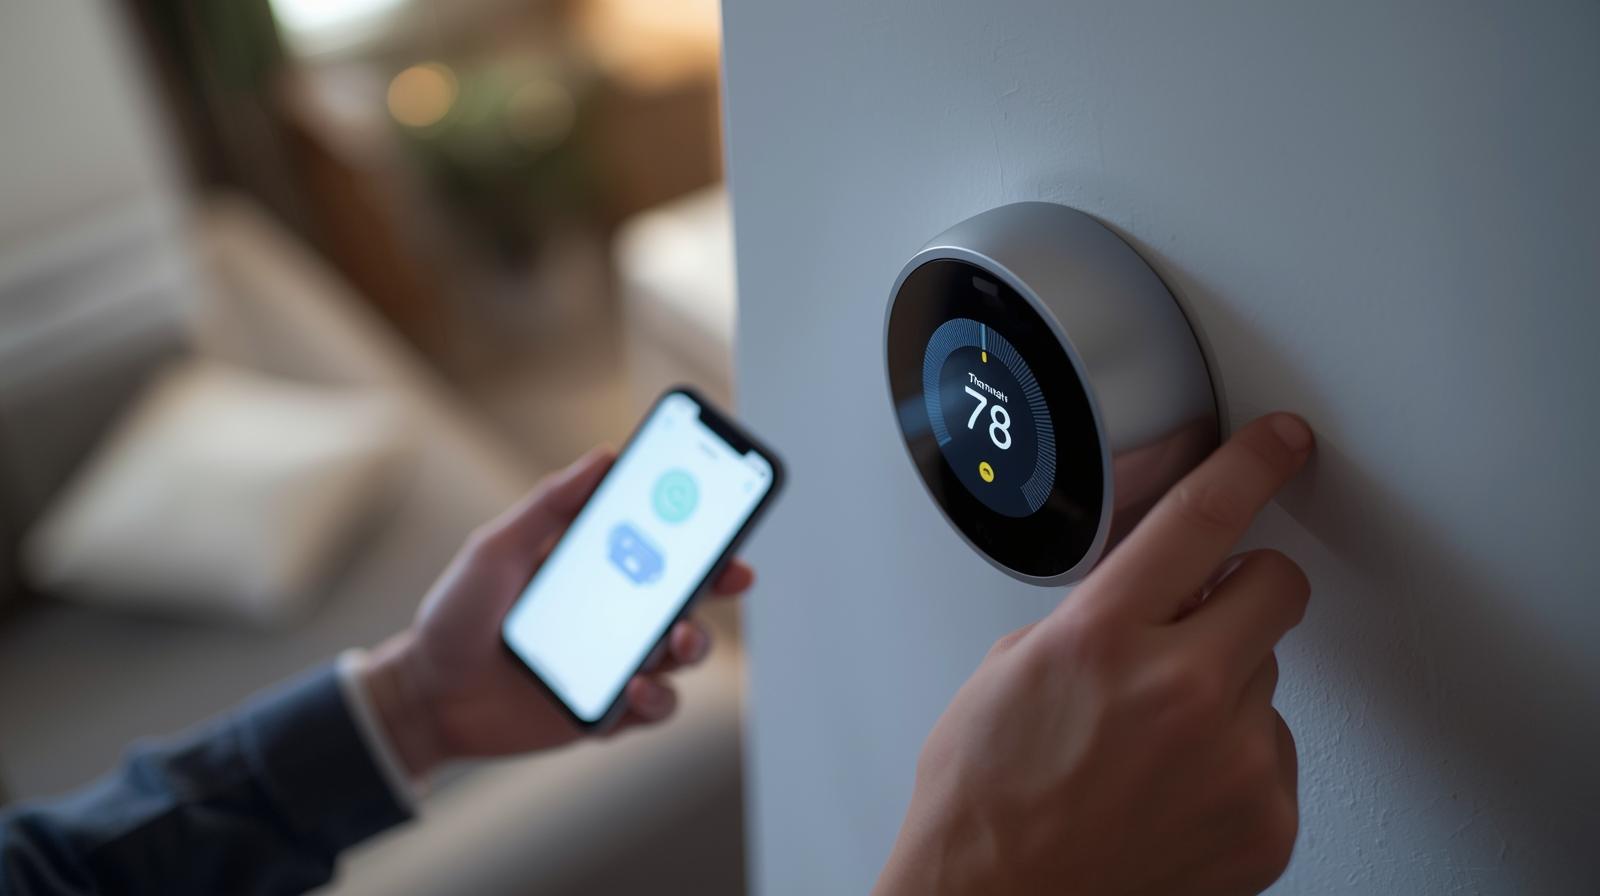
Now for the fun part. Download the manufacturer's app on your phone. Most units will display a QR code on the screen. Scan it, and the app will guide you through connecting the device to your Wi-Fi. In 2026, most of these devices use Bluetooth or Thread for the initial setup, making it much faster than the old 'connect to a temporary Wi-Fi network' method.
Matter and Smart Home Integration
During setup, you will likely be asked if you want to add the device to Apple Home, Google Home, or Amazon Alexa. Since we are in the era of Matter 2.0, this is usually a one-tap process. This allows your thermostat to talk to your smart blinds (to close them when the sun is too hot) or your smart lights. Do not skip this step; it is where the real energy savings happen.
Step 9: Calibration and Testing
The thermostat will likely run a test cycle. It will turn on the heat for a few minutes, then the cooling. Stand by your vents and make sure the air feels right. The device might also take a few days to 'learn' your home's thermal profile. It is measuring how fast your house heats up and how quickly it loses heat. Let it do its thing.
Setting Your Schedule
What most people miss is the 'Away' delay. You do not want the AC to kick on the second you walk through the door if you are just popping in to grab your mail. Set a geofencing radius of about half a mile. This ensures the house is comfortable by the time you actually get inside, but stays in energy-saving mode while you are at work or running errands.
Troubleshooting Common Issues
If your system is 'short cycling' (turning on and off every few minutes), you might have a loose wire or a configuration error in the app. Check the 'Equipment' settings in the menu to ensure the thermostat knows if you have a gas furnace, electric heat, or a heat pump. Choosing the wrong one can actually damage your HVAC hardware. If the Wi-Fi keeps dropping, check if your router is too far away. In 2026, mesh networks are standard, so you might need to move a node closer to the hallway.
Wrapping It Up
You did it. You have successfully dragged your home's climate control into the future. It feels good, right? Not only do you have a sleek new gadget on the wall, but you have also taken a massive step toward a more sustainable and affordable lifestyle. Keep an eye on your energy reports over the next few months. You will likely be surprised at how much those small, automated adjustments add up. Welcome to the smart life.
Frequently Asked Questions
Do I really need a C-wire?
Most smart thermostats require a C-wire for constant power. If your home doesn't have one, look for a thermostat that includes a Power Extender Kit or C-wire adapter, which allows you to use existing wires to provide power.
Can I install a smart thermostat if I rent?
Yes, but keep your old thermostat! You can swap them back before you move out. Just make sure to take photos of the original wiring so you can restore it exactly as it was.
Will a smart thermostat work with my heat pump?
Most do, but you must specify 'Heat Pump' during the software setup. If you have 'Emergency Heat' (O/B wire), ensure your chosen model supports multi-stage heating systems.