Our Editorial Research & Methodology
Stop Paying the Lazy Tax on Your Energy Bill
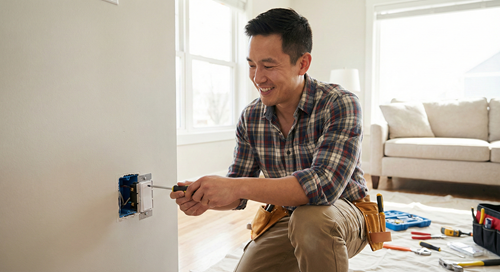
Look, we have all been there. You leave the house for work, and halfway through your commute, you realize the AC is blasting at 68 degrees in an empty house. That is what I call the lazy tax. Installing a smart thermostat is the single fastest way to stop lighting money on fire. By February 2026, these devices have become so intuitive that you do not need an electrician to get one running. You just need a screwdriver, about 30 minutes, and this guide.
Most people are intimidated by the wires sticking out of their wall. It looks like a bomb-defusing scene from an action movie. But here is the secret: it is just color-coded logic. Once you understand which wire does what, the mystery vanishes. In this guide, I am going to walk you through the process from start to finish, including the tricky parts that the manual usually glosses over.
Why You Should Do This Yourself
A professional installation can cost anywhere from $100 to $250. That is more than the cost of some thermostats. Doing it yourself gives you a better understanding of how your HVAC (Heating, Ventilation, and Air Conditioning) system actually works. Plus, you will know exactly how to fix it if a wire ever wiggles loose. It is a low-risk, high-reward DIY project that pays for itself in energy savings within the first year.
The C-Wire Reality Check: Do You Have One?
Before you even buy a unit, you need to check for the 'C-wire' or Common wire. This is the most important part of the whole project. Older thermostats ran on simple batteries or 'power stealing' methods. Modern smart thermostats, especially the high-end models with vibrant touchscreens and AI processing, need a constant stream of 24V power. That is what the C-wire provides.
🏆 Our Top Picks
Ecobee Smart Thermostat Premium
This is the gold standard for 2026. It includes a built-in air quality monitor and a zinc-bodied design that feels like a piece of high-end tech rather than a plastic toy. It comes with a remote sensor to fix hot or cold spots in specific rooms.
Check Price on Amazon →Google Nest Learning Thermostat 4th Gen
The 4th Gen model features a stunning borderless glass display and advanced AI that learns your schedule in less than a week. It is the best choice for those who want a 'set it and forget it' experience without manual programming.
Check Price on Amazon →Wyze Thermostat v2
If you want the smarts without the $250 price tag, this is it. It offers Matter support and a clean interface for a fraction of the cost. The downside is the lack of a touchscreen, but the app control is flawless.
Check Price on Amazon →Emerson Sensi Touch 2
Perfect for people who want a thermostat that looks like a traditional unit but has modern brains. It has one of the highest compatibility ratings for older homes and a very high-contrast display that is easy to read from across the room.
Check Price on Amazon →Honeywell Home T9
Honeywell has been in the thermostat game longer than anyone. The T9 uses long-range sensors that can reach up to 200 feet, making it the best option for large, sprawling homes where the Wi-Fi might be spotty in far corners.
Check Price on Amazon →Pop your current thermostat off the wall. Do not worry, you are not disconnecting anything yet. Look at the wiring. If you see a wire connected to a terminal labeled 'C,' you are golden. If you do not see one, look closely to see if there is an extra wire tucked back into the wall. Sometimes installers pull a 5-wire cable but only use four. If you truly do not have a C-wire, do not panic. You have two options: buy a thermostat that includes a Power Extender Kit (PEK) or choose a model that works without one, though I usually recommend the PEK for better reliability.
Common Wire Labels and What They Mean
| Terminal Label | Wire Color (Typical) | Function |
|---|---|---|
| R / Rh / Rc | Red | 24V Power (Heating or Cooling) |
| W / W1 | White | Heating Signal |
| Y / Y1 | Yellow | Cooling Signal |
| G | Green | Fan Signal |
| C | Blue or Black | Common (Continuous Power) |
| O/B | Orange or Blue | Heat Pump Reversing Valve |
The Essential Toolkit
You do not need a garage full of tools for this. In my experience, keeping it simple prevents mistakes. Here is what you should have on your kitchen counter before you start:
- A multi-bit screwdriver: Most thermostats use small Phillips or flathead screws.
- Your smartphone: You will need this for taking photos and downloading the app.
- Masking tape or wire labels: Most new thermostats come with stickers. Use them.
- A small level: Some thermostats have one built-in, but it is good to have a backup so your wall does not look crooked.
- Needle-nose pliers: These are great for straightening old, bent wires.
- Wall anchors and a drill: Only if the new base plate does not match the old holes.
Step 1: Power Down and Prep
I cannot stress this enough: go to your breaker box and flip the switch for your HVAC system. Do not just turn the thermostat to 'Off.' You are dealing with low-voltage wires, but if you accidentally touch the R wire to the C wire, you can blow a tiny fuse on your furnace control board. Replacing that fuse is a massive headache you want to avoid.
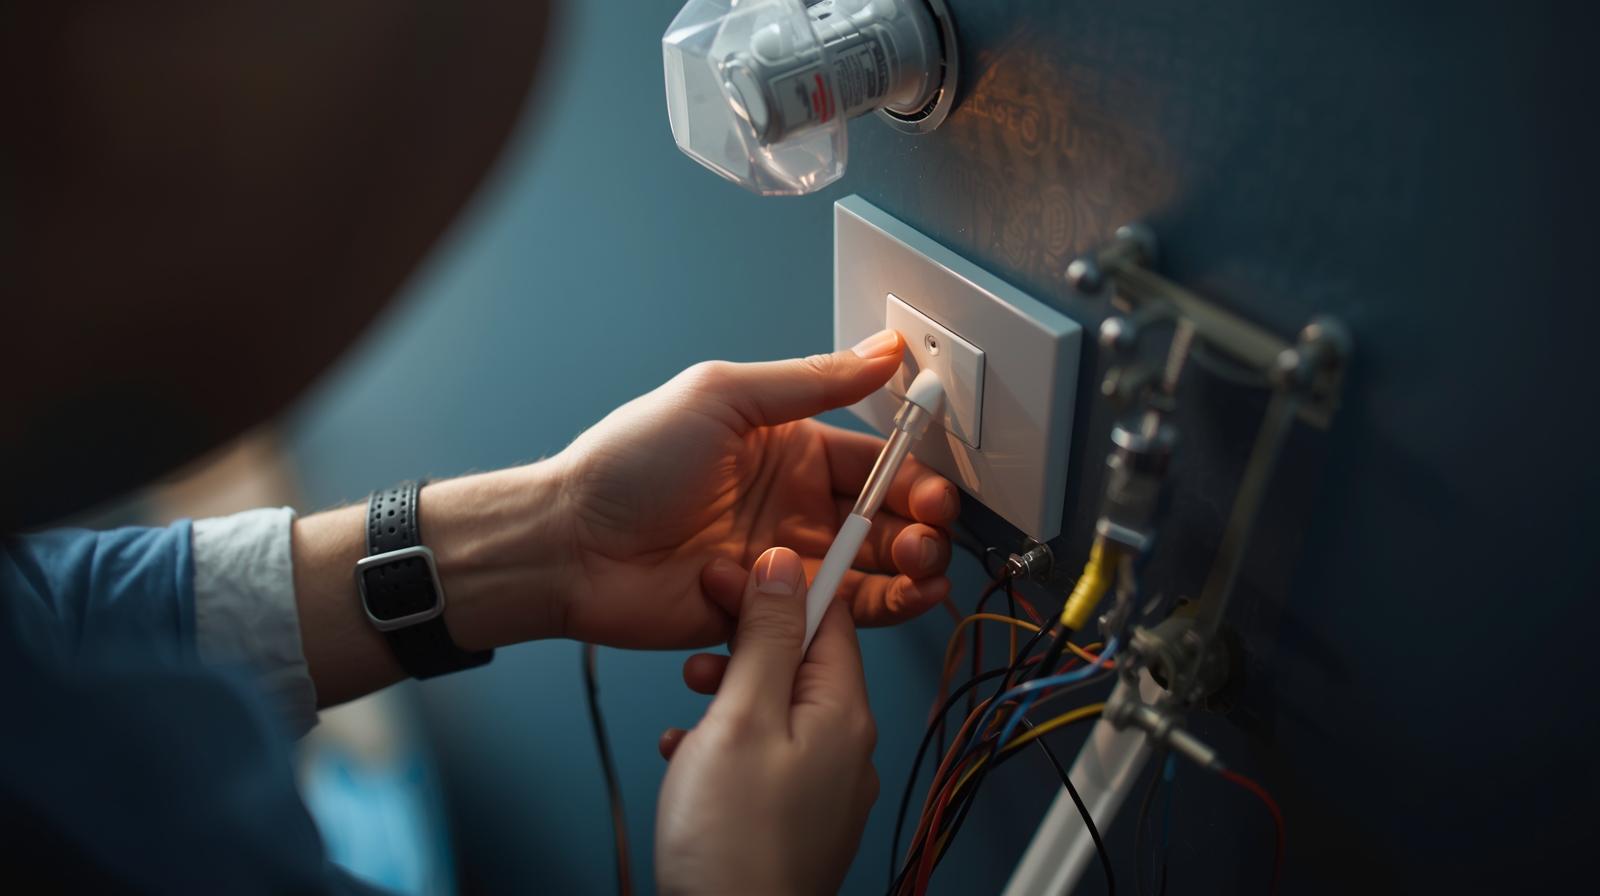
Once the power is off, try to turn on your fan or heat at the thermostat. If nothing happens, you are safe to proceed. Remove the faceplate of your old thermostat to expose the backplate and the wiring. This is the moment of truth where you see what you are working with.
Step 2: Labeling Like a Pro
Here is what most people miss: do not trust the wire colors. Just because a wire is blue does not mean it is the C-wire. Some installers use whatever wire they have on hand. Instead, look at the letters on the terminals where the wires are currently connected.
Take a clear photo of the current wiring. This is your insurance policy. If everything goes wrong, you can use this photo to put the old thermostat back exactly how it was. Use the stickers provided with your new smart thermostat to label each wire based on the terminal letter, not the color. If a wire is in 'W,' put the 'W' sticker on it. Simple.
Step 3: Out With the Old, In With the New
Disconnect the wires from the old backplate. Be careful here—do not let the wires fall back into the wall hole. I usually wrap them around a pencil or use a piece of tape to secure them to the wall. If they fall in, you might have to fish them out with a coat hanger, which is a nightmare.
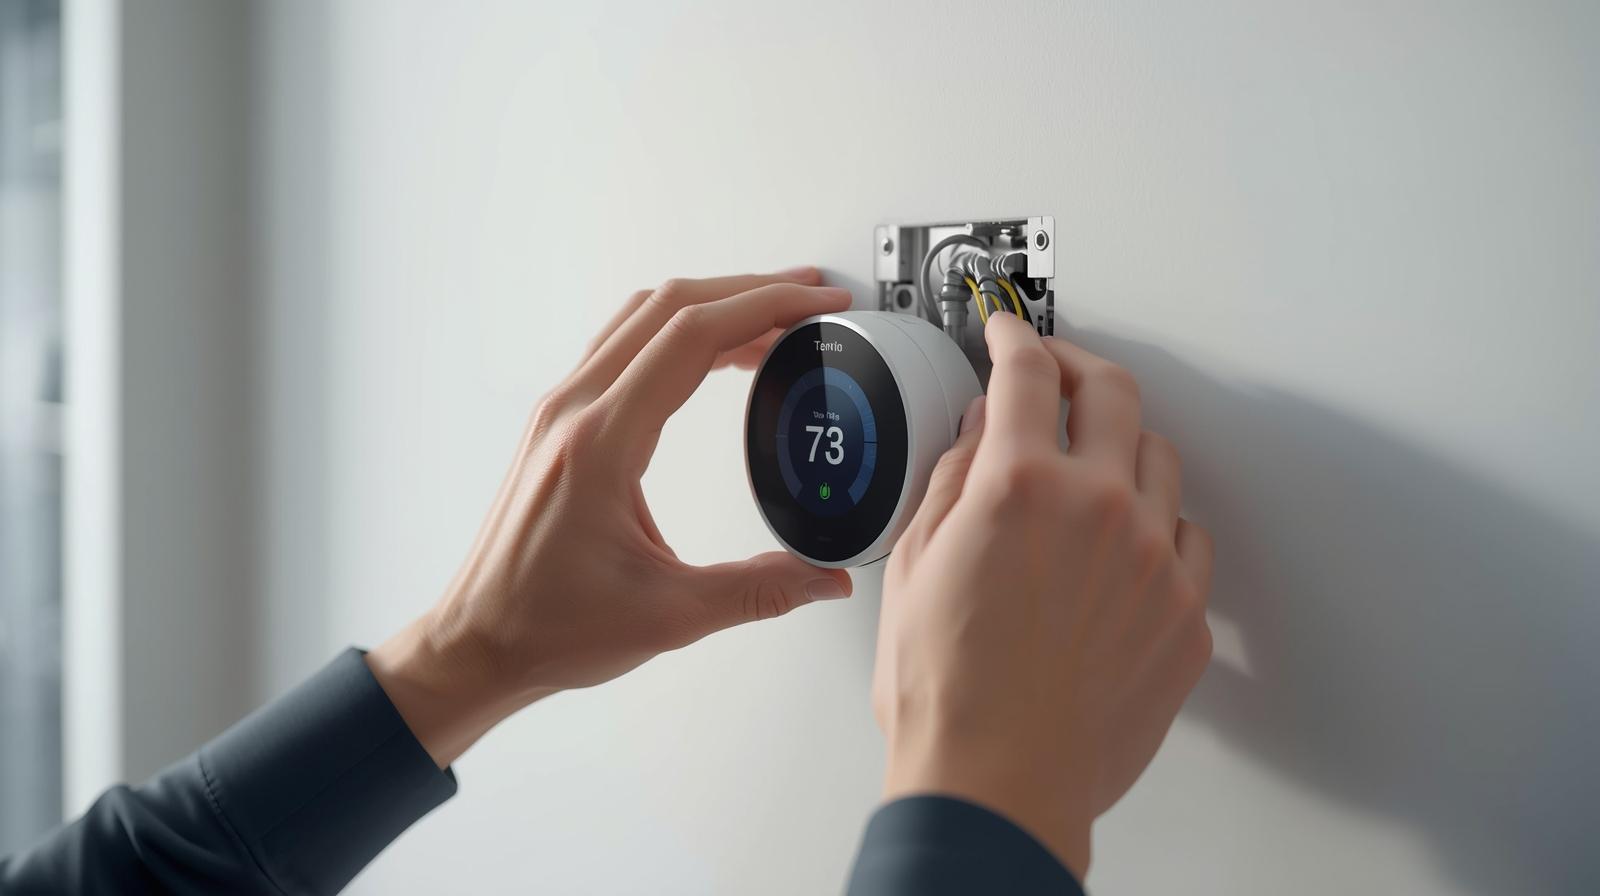
Unscrew the old backplate and remove it. If your new thermostat is smaller than the old one, you might see some unpainted wall or old screw holes. Most premium brands include a 'trim plate' to cover this up. If not, this is the time to do a quick patch and paint job. Once the wall is ready, pull the wires through the center of the new base plate and screw it into the wall. Use your level to make sure it is straight. A crooked thermostat is a permanent eyesore.
Step 4: The Wiring Masterclass
Now, insert the labeled wires into the corresponding terminals on the new base. Most modern units use push-terminals. You just press a lever, slide the wire in, and release. Give each wire a gentle tug to make sure it is seated firmly. If the copper end of the wire is bent or corroded, snip it and strip about a quarter-inch of fresh insulation off for a better connection.
If you are using a Power Extender Kit because you lack a C-wire, you will need to head to your furnace or air handler. You will connect the kit to the control board there, following the manufacturer's specific diagram. It sounds scary, but it is just matching letters again. Most kits are plug-and-play.
Step 5: Booting Up and App Sync
Snap the thermostat display onto the base. Head back to the breaker box and flip the power back on. Your new device should light up immediately. If it does not, go back and check that the display is pushed all the way onto the base—sometimes the pins do not make contact.
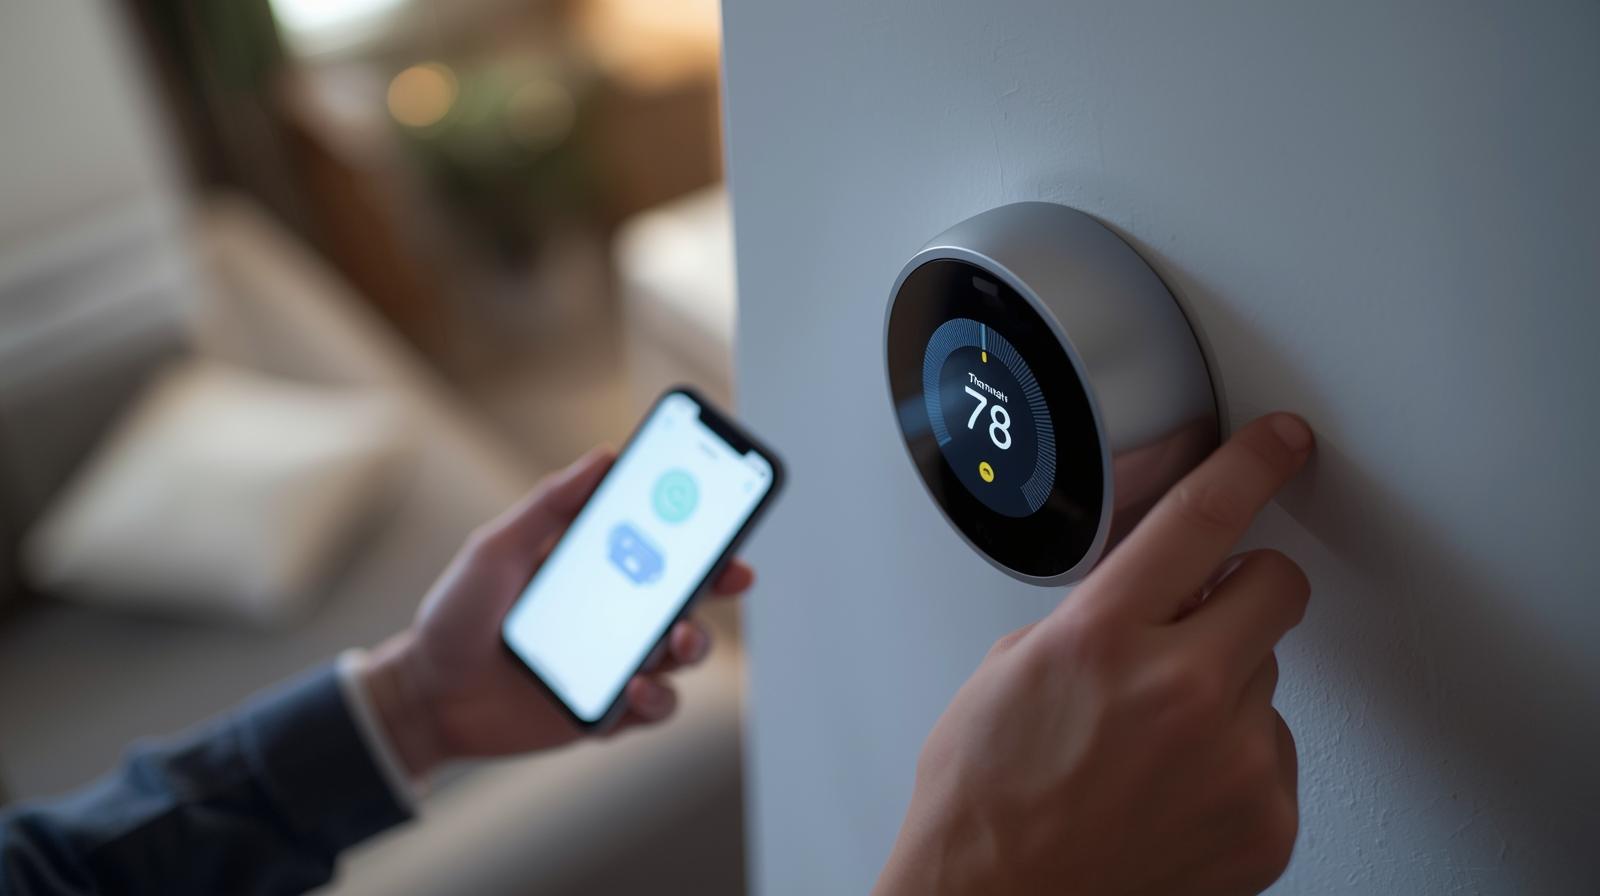
Follow the on-screen instructions. By 2026, almost every major thermostat supports Matter over Thread. This means the setup is usually as simple as scanning a QR code with your phone. The app will guide you through connecting to Wi-Fi and asking questions about your system (e.g., 'Do you have gas or electric heat?'). Be honest here; the wrong setting can lead to inefficient heating or even damage to your system.
Advanced Features to Enable Immediately
Once the system is running, do not just leave it on the default settings. To get the most out of your investment, look for these features in the settings menu:
- Geofencing: This uses your phone's location to tell the thermostat when you leave the house. It automatically shifts to 'Eco' mode and starts cooling or heating when you are five miles from home.
- Adaptive Recovery: The thermostat learns how long it takes to heat your home. If you want it to be 72 degrees at 7 AM, it might start the furnace at 6:30 AM based on the outside temperature.
- Air Filter Reminders: Set this based on time or run-hours. A dirty filter makes your system work harder and die younger.
- AI Optimization: Many 2026 models analyze local weather patterns to pre-cool your home before a heatwave hits, saving money during peak utility pricing.
Troubleshooting: When Things Go Dark
If your thermostat does not turn on, check the 'R' wire first. This is your power line. If it is loose, nothing happens. Also, check your furnace door. Most furnaces have a safety switch that cuts power if the door is not closed tightly. If you were working on a Power Extender Kit, make sure that door is latched.
If the AC blows hot air, you likely have a heat pump and misconfigured the O/B wire settings. This is a common software fix in the app. Simply swap the 'reversing valve' setting from O to B (or vice versa). If the system short-cycles (turns on and off rapidly), you might have a loose C-wire or a clogged condensate drain line in your HVAC system that is tripping a safety sensor.
Comparison: C-Wire vs. Power Extender Kit
| Feature | Direct C-Wire | Power Extender Kit (PEK) |
|---|---|---|
| Installation Difficulty | Very Easy | Moderate (Requires Furnace Access) |
| Power Stability | Excellent | Very Good |
| Compatibility | Universal | Specific to Brand |
| Cost | Free (if wire exists) | Usually included in box |
In my experience, if you have the option to run a new C-wire, do it. But for 90 percent of homeowners, the Power Extender Kit is a perfectly reliable solution that saves you from crawling through an attic to pull new wires. Smart thermostats have come a long way, and the software is now smart enough to handle almost any wiring quirk you throw at it.
Frequently Asked Questions
Can I install a smart thermostat without a C-wire?
Yes, you can use a Power Extender Kit (PEK) which is included with many brands like Ecobee, or choose a model like the Nest that can 'power steal,' though a C-wire or PEK is always more reliable.
Will a smart thermostat work with my 20-year-old furnace?
Most likely, yes. As long as your system uses standard 24V wiring (the thin multi-colored wires), it is compatible. It will not work with high-voltage baseboard heaters (120V/240V) without a special adapter.
How much money will I actually save?
On average, users save 10% to 15% on heating and cooling costs. In a typical home, the device pays for itself in 12 to 18 months through reduced energy waste.