Our Editorial Research & Methodology
The Reality of Upgrading Your Walls
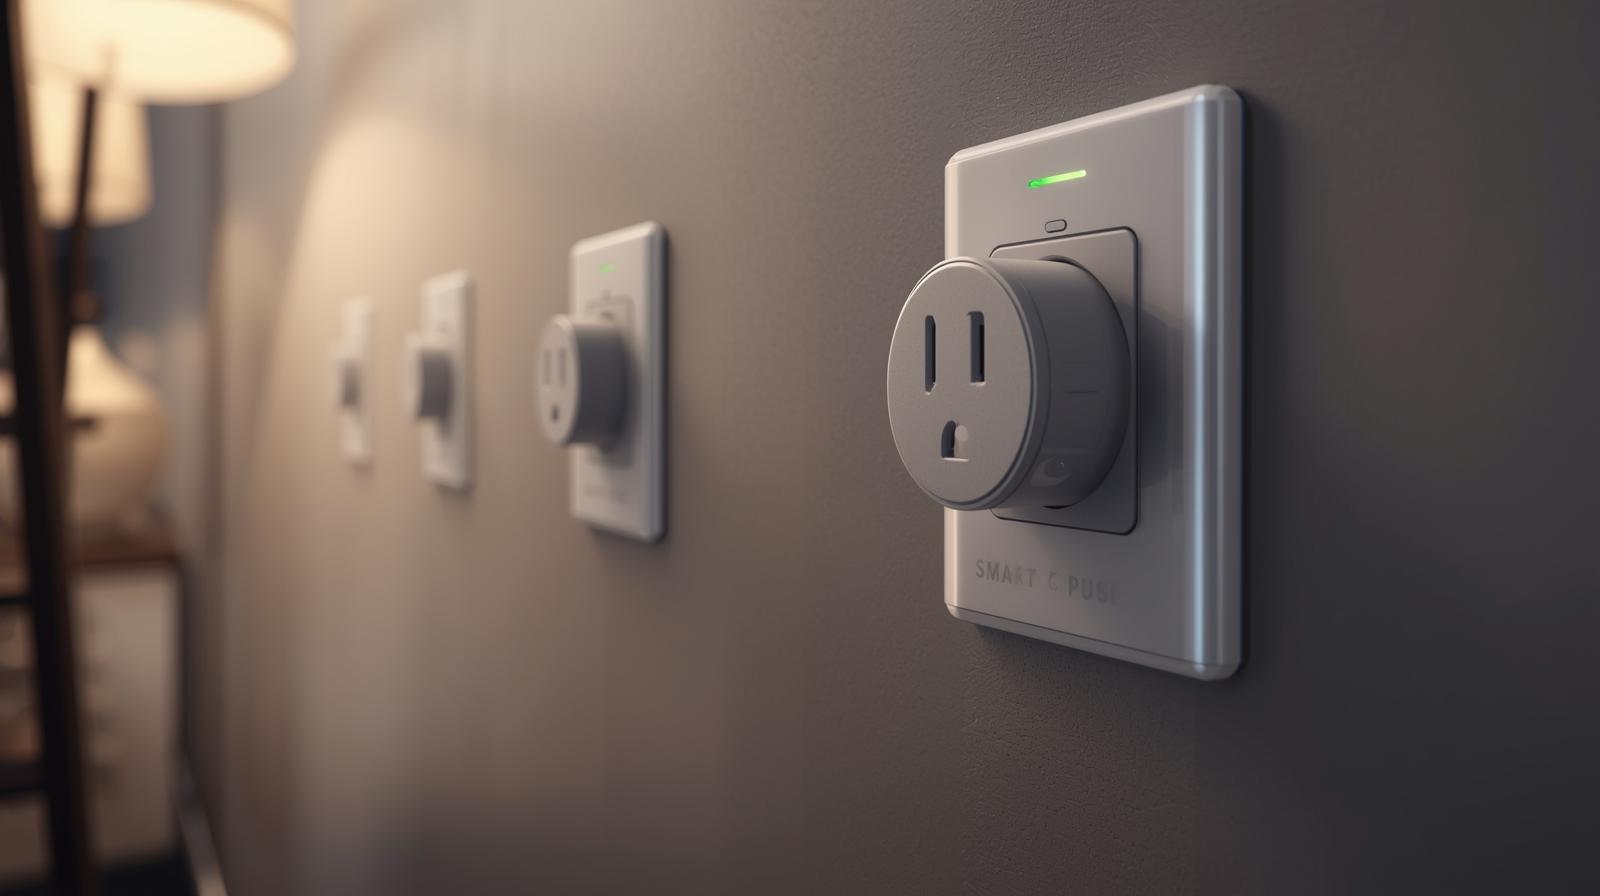
Walking into a dark room and fumbling for a plastic toggle feels like something out of the 1990s. We are well into 2026, and your home should know you are there before you even reach for the wall. But here is the thing: buying a smart switch is the easy part. Getting it into the wall without calling an expensive electrician is where most people get stuck.
I have spent years tinkering with home automation, and I have seen every mistake in the book. From fried circuits to the dreaded 'no neutral wire' realization, the path to a smart home is paved with minor frustrations. This guide is here to make sure you do not hit those roadblocks. We are going to walk through the physical installation, the software handshake, and the little details that make the difference between a working switch and a fire hazard.
Before You Touch a Single Wire
Safety is not just a buzzword; it is the only way to work with electricity. Before you even unscrew the wall plate, you need to identify your circuit breaker. Do not just guess. Turn the light on, then flip breakers until that light goes out. In my experience, labeling your breaker box is the best gift you can give your future self.
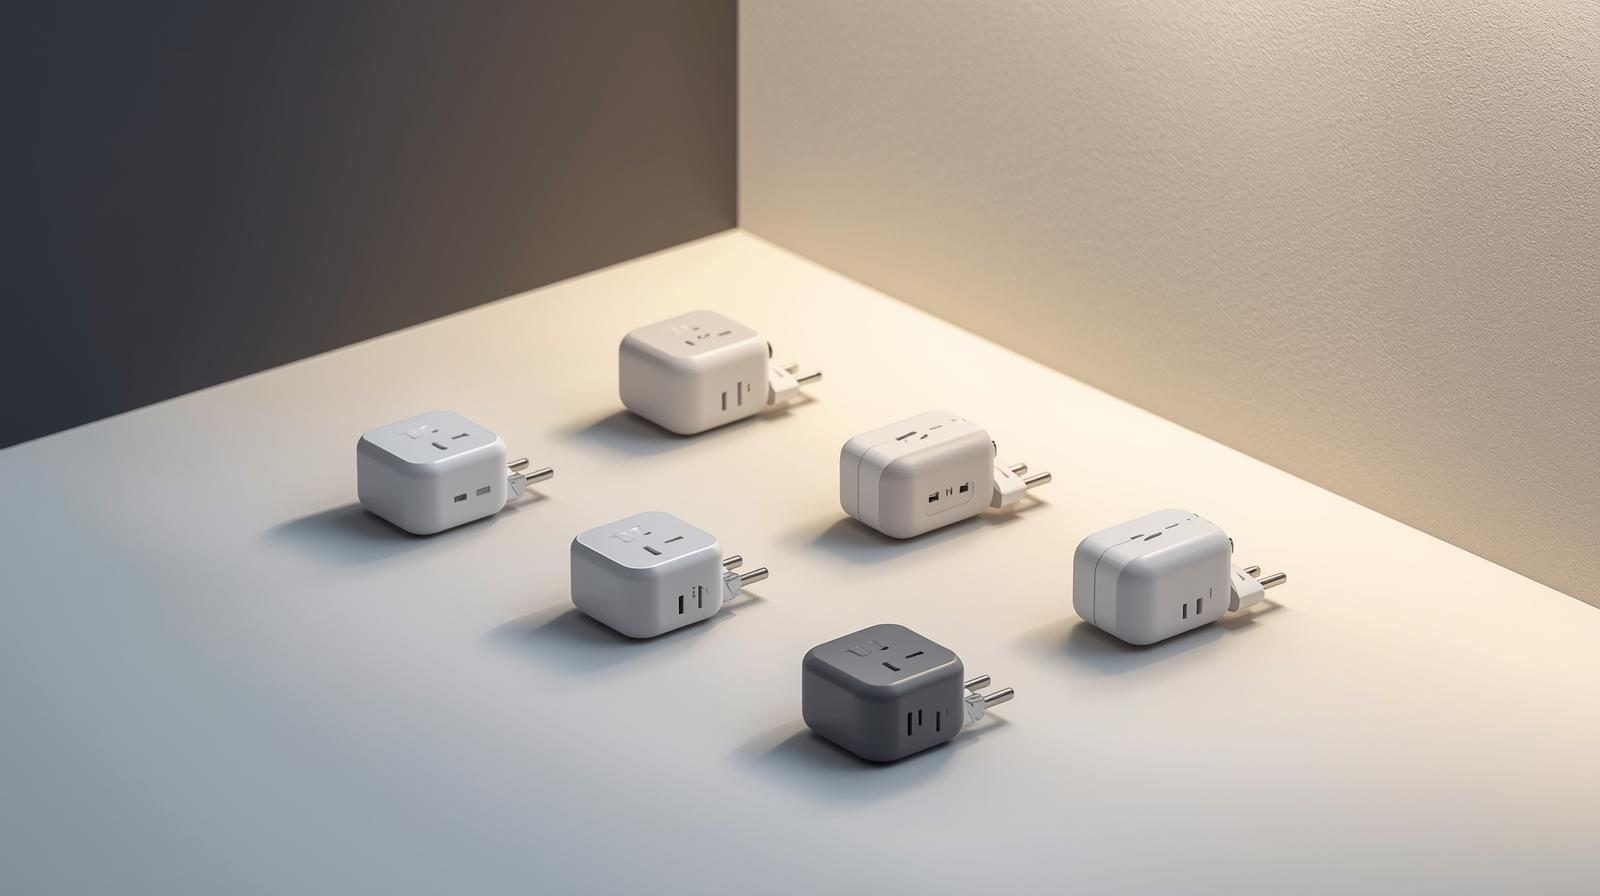
🏆 Our Top Picks
Lutron Caseta Smart Lighting Starter Kit
The gold standard for reliability, especially in older homes. It does not require a neutral wire and uses a proprietary frequency that never interferes with your Wi-Fi. Perfect for those who want a 'set it and forget it' experience.
Check Price on Amazon →TP-Link Kasa Smart Wi-Fi Light Switch KS200
An excellent budget-friendly option that now supports Matter. It offers a clean design and a very responsive physical button. Best for newer homes that have neutral wires available in every box.
Check Price on Amazon →Leviton Decora Smart Wi-Fi (2nd Gen) Switch
This switch is built like a tank and fits perfectly into standard Decora wall plates. It supports 3-way setups with a wired companion switch, making it ideal for hallways and staircases. The app is robust and offers deep customization.
Check Price on Amazon →Eve Light Switch (Matter & Thread)
Designed for the modern smart home, this switch uses Thread for lightning-fast response times. It is Matter-certified out of the box, ensuring it works with Apple, Google, and Amazon simultaneously. A great choice for privacy-conscious users.
Check Price on Amazon →Once the power is off, use a non-contact voltage tester. This little tool is a lifesaver. You press it against the switch, and if it chirps, there is still live power in that box. Never trust a label or a memory. Trust the tester. If the box is quiet, you are ready to start. Grab a screwdriver, some needle-nose pliers, and a bit of electrical tape.
The Great Neutral Wire Hunt
This is the biggest hurdle in smart switch installation. Most smart switches need a constant stream of power to stay connected to your Wi-Fi or Thread network. This power comes from the neutral wire. In older homes built before the mid-1980s, neutral wires were often skipped at the switch box.
Open your wall box and look for a bundle of white wires tucked in the back, usually capped together with a wire nut. If you see them, you are in luck. If you only see a black wire and a red wire, you have a 'no-neutral' setup. Do not panic. You just need to buy a specific type of switch, like the Lutron Caseta, which is designed to work without that white wire.
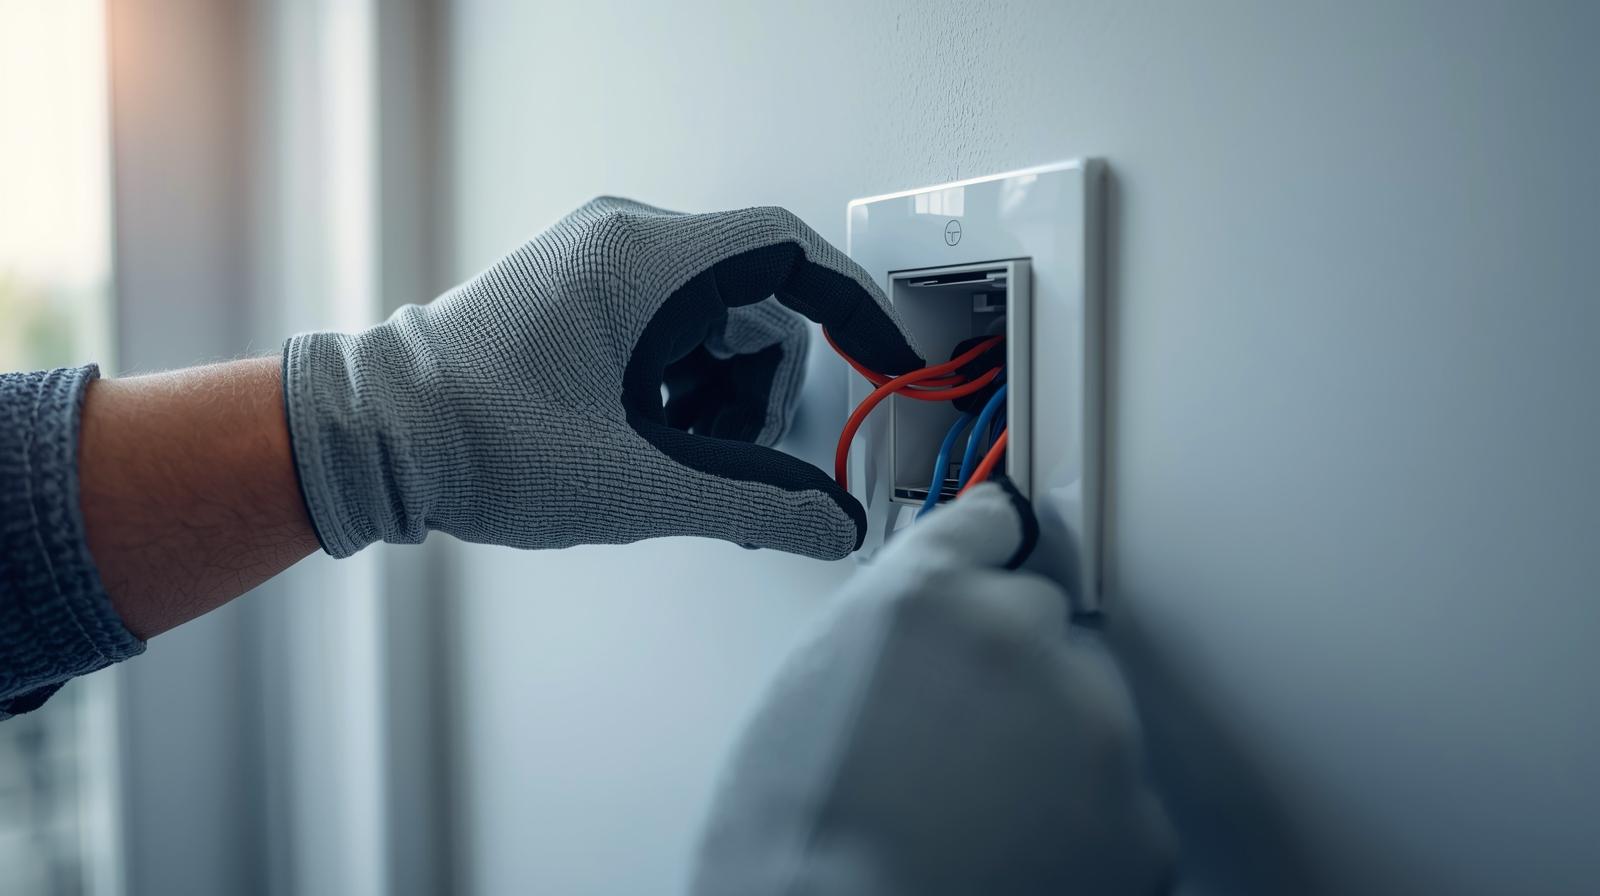
Step-by-Step: The Physical Install
Once you have confirmed your wiring, it is time to disconnect the old 'dumb' switch. You will likely see two black wires (Line and Load) and a bare copper or green wire (Ground). The Line wire brings power from the breaker, while the Load wire carries it to the light fixture. If you are lucky, they are labeled. If not, they both look the same.
Here is a pro tip: before you disconnect anything, take a photo. You think you will remember which wire went where, but you won't. Use small pieces of colored tape to label the wires if you want to be extra careful. Once labeled, unscrew the terminals and pull the old switch out.
Connecting the New Switch
Your new smart switch will have four or five wires coming out of it, or terminals waiting for your house wires. Follow this standard mapping:
- Ground (Green/Copper): Connect this to the bare copper wire in your wall. This is your safety net.
- Neutral (White): Connect this to the bundle of white wires in the back of the box.
- Line (Black): Connect this to the wire that stays hot (carries power) all the time.
- Load (Black/Red): Connect this to the wire that goes to your light bulb.
Use wire nuts to twist the ends together tightly. Give each wire a firm tug to make sure it is seated properly. If it slips out now, it will cause a spark later. Wrap the wire nuts in a bit of electrical tape for extra security. It feels overkill until you are trying to cram everything back into a crowded metal box.
The Crowded Box Problem
Smart switches are bulky. They contain radios, processors, and relays that take up way more space than a simple mechanical switch. This is where most DIYers lose their cool. Trying to shove a massive plastic block into a box filled with stiff copper wires is like playing a high-stakes game of Tetris.
The trick is to fold your wires. Do not just push. Fold the neutral bundle into the very back. Zig-zag the Line and Load wires so they compress like an accordion. If you force it, you risk cracking the switch housing or popping a wire out of its nut. Take your time. If it does not fit, pull it out and reorganize the wires.
Software Setup and Matter Integration
It is 2026, which means we are finally living in the era of Matter and Thread. Gone are the days of needing fifteen different apps and bridges. Most modern switches use Matter over Thread, which means they talk directly to your Apple Home, Google Home, or Amazon Alexa hub without a middleman.
Turn the breaker back on. The switch should blink or glow to show it has power. Open your preferred smart home app and hit the 'Add Device' button. You will usually scan a QR code located on the side of the switch or inside the box. In my experience, scanning the code before you screw the wall plate on is a smart move. It saves you from having to take it all apart if the pairing fails.
Setting Up Automations
Now that the switch is 'live,' do not just use it as a remote control. The real power is in the logic. Set your porch light to turn on at sunset and dim to 20 percent at midnight. Link your bathroom switch to a motion sensor so you do not have to find the button at 3 AM. This is where the 'smart' part actually happens.
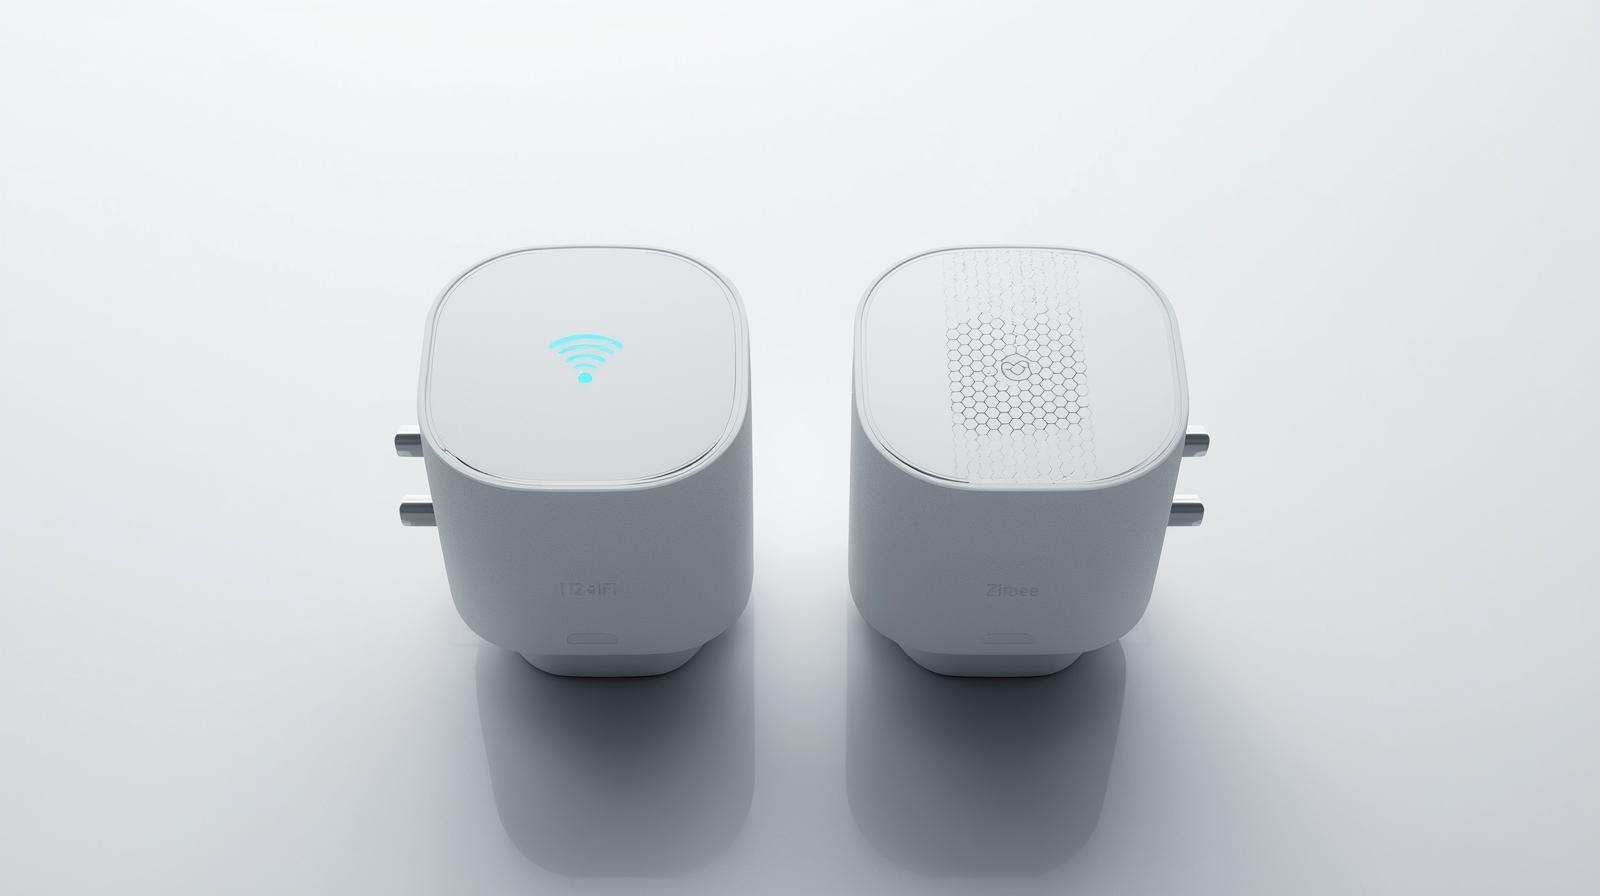
Comparison of Smart Switch Protocols
| Protocol | Speed | Range | Reliability | Hub Required? |
|---|---|---|---|---|
| Thread (Matter) | Instant | Excellent (Mesh) | Very High | Yes (Border Router) |
| Wi-Fi | Moderate | Limited by Router | Moderate | No |
| Zigbee | Fast | Good (Mesh) | High | Yes |
| Lutron Clear Connect | Instant | Best in Class | Highest | Yes (Bridge) |
Troubleshooting Common Issues
Sometimes things do not go perfectly. If your light is flickering, you likely have a compatibility issue between the switch and the LED bulb. Smart dimmers are notoriously picky. Look for 'dimmable' LEDs that are rated for the specific dimming technology your switch uses (usually ELV or MLV).
If the switch keeps dropping off your network, check your signal strength. If you are using Wi-Fi switches, your router might be struggling with the number of devices. This is why I always recommend Thread-based switches for 2026 homes. They create a mesh network where every switch helps strengthen the signal for the others. It is a much more robust way to build a home.
Dealing with 3-Way Switches
If you have two switches controlling one light (like at the top and bottom of stairs), you have a 3-way setup. You cannot just swap one for a standard smart switch. You either need a specific 3-way smart switch or a 'remote' companion switch. Some brands, like GE Cync, allow you to use a standard smart switch and then 'virtually' link it to a battery-powered remote at the other end. It saves you the headache of rewiring the traveler wires.
Final Thoughts on the Upgrade
Installing a smart switch is one of the most satisfying weekend projects you can tackle. It changes how you interact with your home every single day. Just remember to respect the electricity, verify your neutral wires, and do not rush the physical install. Once that wall plate is back on and your lights respond to your voice or your schedule, you will wonder why you waited so long to make the switch.
Frequently Asked Questions
Do I really need a neutral wire?
Most smart switches require a neutral wire to stay powered while the light is off. If you don't have one, look for 'no-neutral' specific models like Lutron Caseta.
Can I use a smart switch with a ceiling fan?
Only if the switch is specifically rated for motor loads. Using a standard light dimmer on a fan can damage the motor and create a fire risk.
What is Matter and why does it matter in 2026?
Matter is a universal standard that allows smart devices from different brands to work together seamlessly. It ensures your switch will work with any major smart home ecosystem.